Setting up a Shared Database
Setting up a Shared Database allows you to have multiple users working from the same jobs, settings and materials in Router-CIM Automation Suite. This will assist in keeping multiple users producing the same results through Router-CIM Automation Suite.
There are two methods for setting up Router-CIM Automation Suite with a shared database:
1) Selecting a Master Computer (complete installation of AutoCAD and Router-CIM required) that all computers have access to.
2) Setting up the SQL Server on a stand-alone server (AutoCAD and Router-CIM installation on the server is not required). Requires additional support files to be downloaded. Please proceed to the 'Installing on a Stand-Alone Server' section before setting up the shared database.
Either process will be setup the same way following these instructions:
Note: Setting up a shared database using a master computer assumes that all computers being setup with have access to the master computer at all times when running Router-CIM Automation Suite.
Note: Setting up a shared database using a stand-alone server assumes that all computers being setup with have access to the stand-alone server at all times when running Router-CIM Automation Suite.
Note: These procedures ONLY need to be done on the client computers, when setting up Shared Databases using a Master Computer. The Master Computer will need no changes.
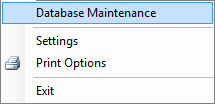
On a client computer, select 'Database Maintenance' under the 'File' menu in Router-CIM Automation Suite:
Once selected, the Database Manager will open:
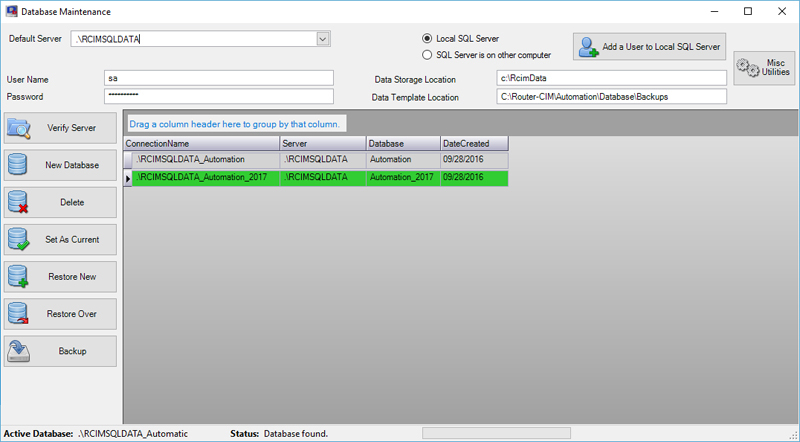
With the Database Manager open, select the option on the top of the window for 'SQL Server is on other computer':

You can then proceed to the drop-down option under 'Default Server'. This will show you the SQL Servers that your computer has access to:

If you do not see the SQL Server that you are trying to access on the Master Computer, you can manually type in the name of the Master Computer followed by the correct database name:

Once the SQL Server has been selected via the drop-down option or manually entered, select the 'Verify Server' button on the left side of the Database Manager:

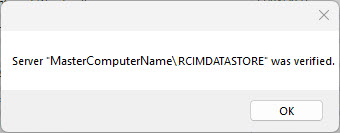
If the SQL Server was found, you will receive this message:
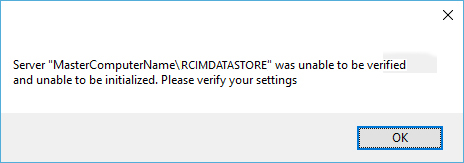
If the SQL Server was not found, you will receive this message:
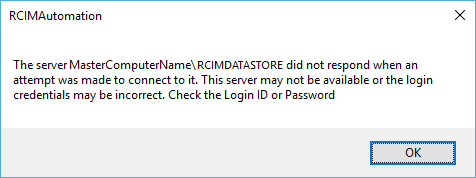
Followed by:
At this point, verify your connection name and try again. Once you have selected an available server, see 'Set as Current' section for more information, and connected successfully to it you can close the Database Manager.
Note: Once a Shared Database is setup, you may want to select the option 'Utilize Manager Record Locking (Advanced Database Sharing)' under the 'Advanced Settings' section.

