|
|

|

|
|||
|
|
|
|
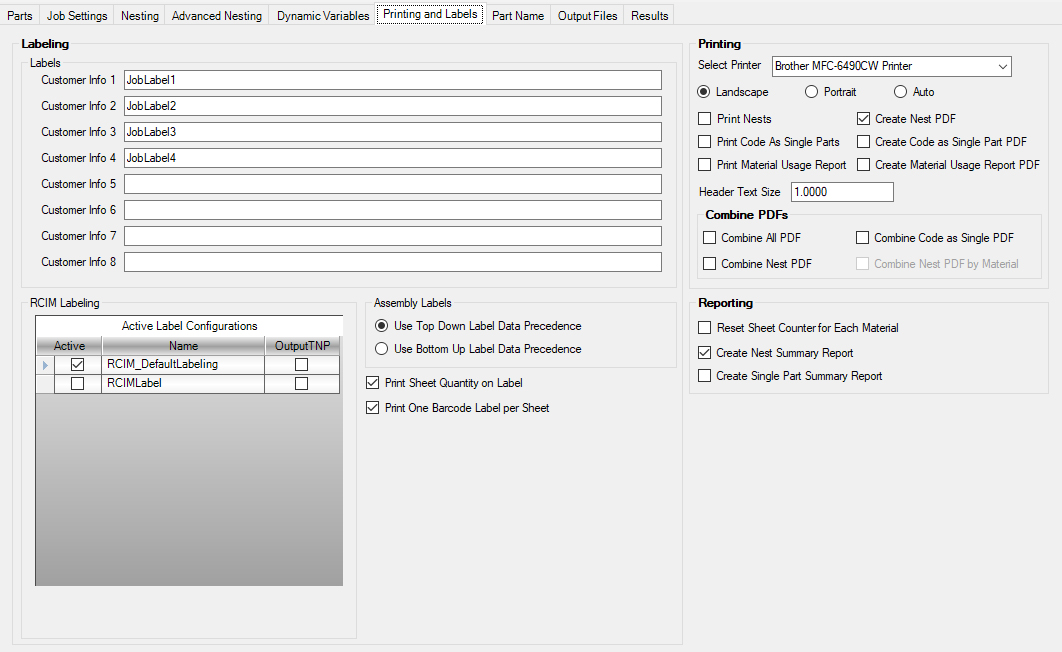
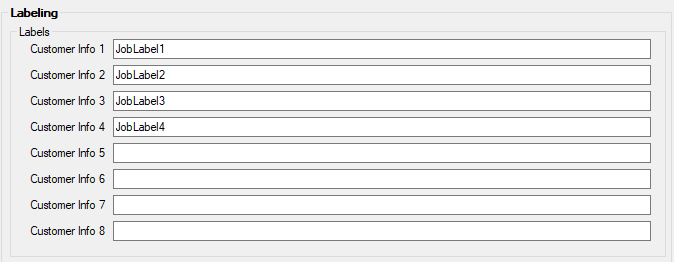
Labels
This section is where you can place any custom data you wish to appear on your labels for each part if you are using 'Inherit Label Data from Job' under Part Properties.
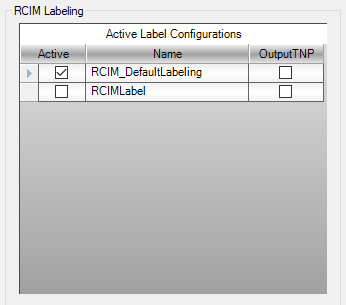
RCIM Labeling
This section is where you select the RCIM Label Configuration when using the 'Label Designer'.
Check the RCIM Label Configuration that you want active for this job.
If you have the CIM-Tech Touch-N-Print system, you can also select if you want to use one of your custom label setups for this option by checking the 'OutputTNP' box.
Assembly Labels
This options allows you to define how the labels will be generated depending on if assemblies/jobs are used instead of parts.
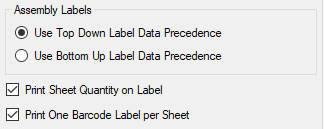
Use Top Down Label Data Precedence: When this option is selected, the label information used to create the labels for the job will be based on the information included in the job that contains the assemblies. Information that is included in the assemblies/jobs that have been added to the master job will be ignored.
Use Bottom Up Label Data Precedence: When this option is selected, the label information used to create the labels for the job will be based on the information included in the assemblies/jobs that have been added to the master job. The information that is included in the master job will be ignored.
Print Sheet Quantity on Label
Turned on, you will have the number of the sheet listed for each NC code file on the label.
Print One Barcode Label per Sheet
If checked, there will be a barcode label printed in the label file for each sheet nested in the job.
Printing
This area allows you to select if you would like Router-CIM Automation Suite to create PDFs and/or print out certain items after job completion.
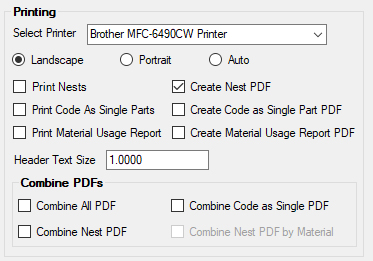
Select Printer
This option will allow you to select a printer for the plotting of the nested and non-nested parts.
Printing Layout
Select one of the options for how the printed option is laid out on the sheet.
If checked, you will get a print of each nested sheet sent to the printer automatically during the job run. One print for each nest.
Print Code As Single Parts
If checked and you have parts that are set to Code as Single Part, they will be printed during the job run. One print for each part.
Print Material Usage Report
Turned on, a material report will automatically be printed at the end of the job.
Create Nest PDF
If checked, you will get a PDF of each nested sheet with the name of the PDF matching the output file named defined in the 'Output Files' section.
Create Code as Single Part PDF
If checked, you will get a PDF of each Code Single Part (if applicable) with the name of the PDF matching the part name file named defined in the 'Part Name' section.
Create Material Usage Report PDF
If checked, you will get a PDF of the material usage report.
Header Text Size
Use this field to adjust the text size of the header that is included at the top of each nest in the nested drawing file.

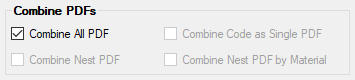
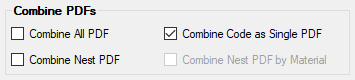
Combine PDFs
If you are creating PDFs, you have options on the included PDFs per file.
Combine All PDF
When this option is checked, all PDFs that were created will be combined into one file.
Combine Nest PDF
When this option is checked, all Nest PDFs that were created will be combined into one file or you can have them combined by Material.
All Nest PDFs combined as one file:

Nest PDFs combined per material:
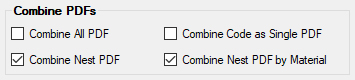
Combine Code as Single PDF
When this option is checked, all Code as Single PDFs that were created will be combined into one file.
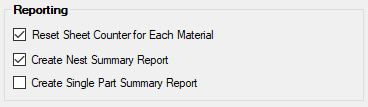
Reporting
After job run, you have multiple reporting options.
Create Nest Summary Report
When this option is checked, you will receive an XLSM file that includes the code file names, tooling used, parts nested and additional information that can be used as a Job Sheet.
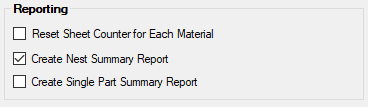
Create Single Part Summary Report
When this option is checked, you will receive an XLS file for each individual part file including code file names, tooling used and additional information.
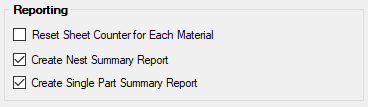
Reset Sheet Counter for Each Material
If checked, the counter for the NC code file will have its numbers reset each time it encounters a new material. So if you had two nests, one on MDF75_ and one on BIR500_, you would get files named MDF75_1 and BIR500_1. If the box was unchecked, you would get MDF75_1 and BIR500_2. The last digit is the sheet count.
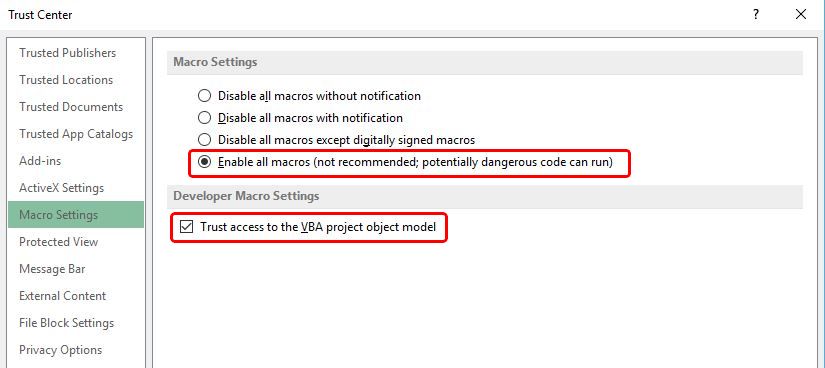
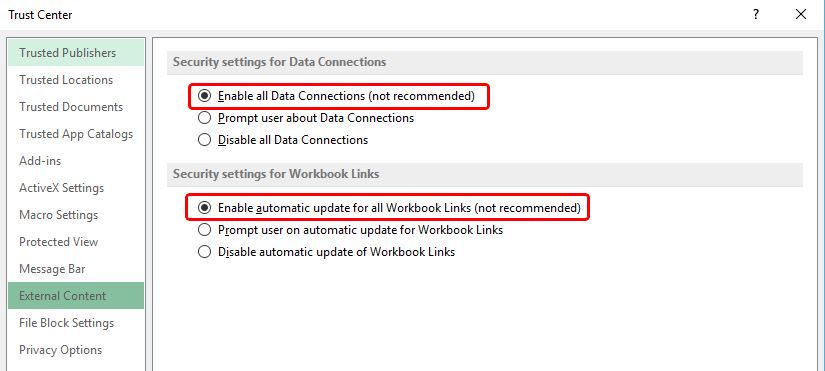
NOTE: Security settings in Excel may need to be adjusted in order to view the Summary Reports correctly. You will need to go to the Microsoft Excel 'Trust Center' located under the 'Options' in Microsoft Excel. To allow the Summary Report to populate, you will need to adjust the Macro Settings and the External Content settings as shown below.