|
|

|

|
|||
|
|
|
|
![]()
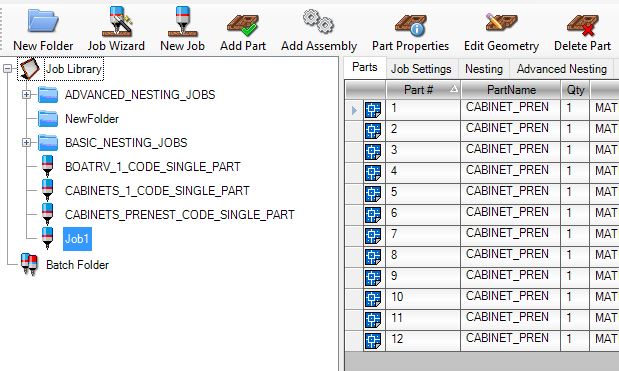
Using the Job Wizard allows you to create a job in a step by step fashion.
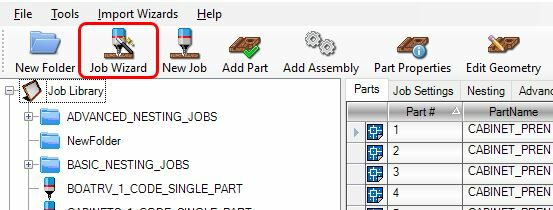
Select 'Job Wizard'
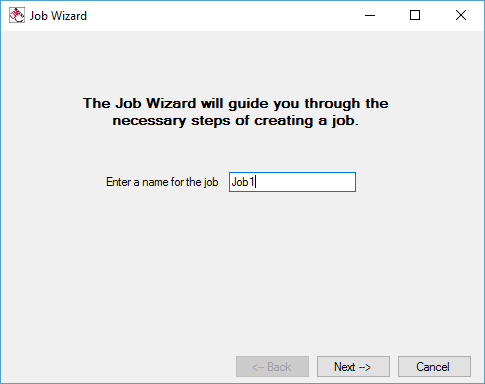
Enter a Job Name and then select 'Next'
The job name will also be the output folder name where the job results are stored.
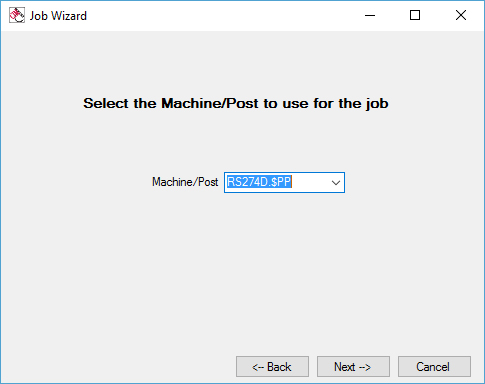
Select your Machine/Post processor and then select 'Next'
The post processor makes the machine code for different types and configurations of CNC machines.
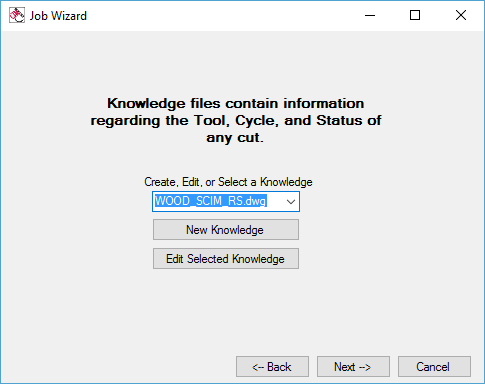
Create, Edit or Select a Knowledge drawing and then select 'Next'
The knowledge drawing is a collection of machining operations that are saved and named within this drawing. You can make a new knowledge drawing where you build knowledges and save /name them. You then save that drawing and use it as your knowledge drawing. From this screen, you can also edit existing knowledges that are stored in a selected knowledge drawing.
Create, Edit, or Select a default material and then select 'Next'
The material determines the sheet size when nesting parts. The material also determines the material thickness and if Z zero is the top of the material or top of spoil board.

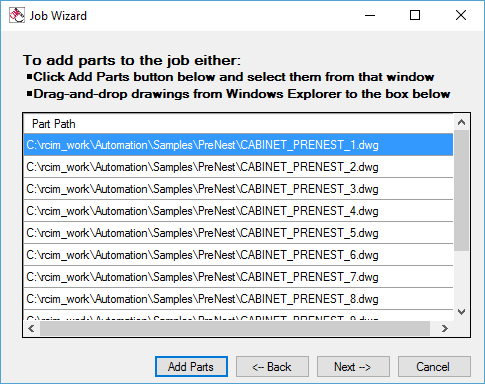
Add parts to your job and then select 'Next'
From this screen, you can add parts to your Router-CIM Automation Suite job. Add parts by picking the Add parts button and browsing for DWG, DXF, or SCN files to add. You can also drag files from Windows Explorer and drop them into this window.
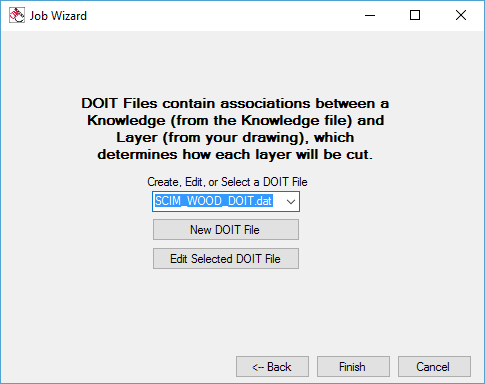
Create, Edit, or Select a DOIT file and then select 'Finish'
The DOIT file contains the association list that cuts a specific layer with a specific knowledge. You can make a new DOIT file and choose what knowledge cuts what layer or you can edit the selected DOIT file.
Once you select 'Finish', Router-CIM Automation Suite will build a job based on the information you have provided.