|
|

|

|
|||
|
|
|
|
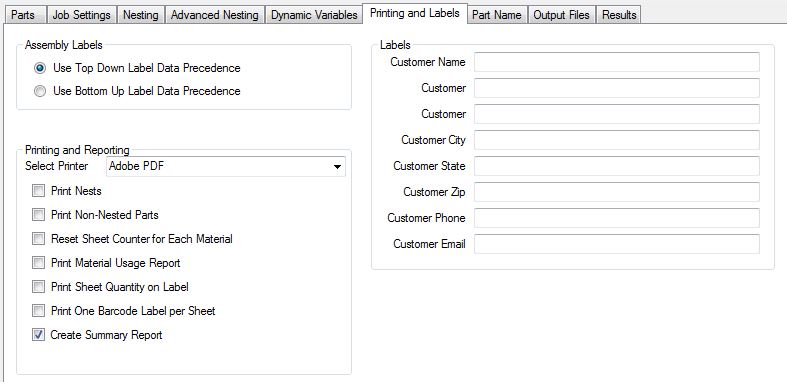
Assembly Labels
This options allows you to define how the labels will be generated depending on if assemblies/jobs are used instead of parts.
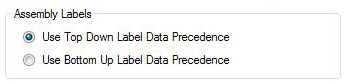
Use Top Down Label Data Precedence: When this option is selected, the label information used to create the labels for the job will be based on the information included in the job that contains the assemblies. Information that is included in the assemblies/jobs that have been added to the master job will be ignored.
Use Bottom Up Label Data Precedence: When this option is selected, the label information used to create the labels for the job will be based on the information included in the assemblies/jobs that have been added to the master job. The information that is included in the master job will be ignored.
Printing and Reporting
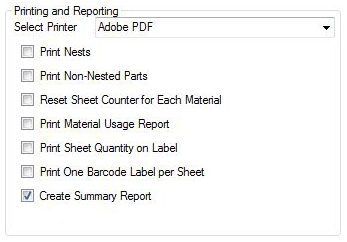
Select Printer
This option will allow you to select a printer for the plotting of the nested and non-nested parts.
If checked, you will get a print of each nested sheet sent to the printer automatically during the job run. One print for each nest.
To adjust the layout of the printed nests, you will need to add the following variable to the Router-CIM NCVAR file. To learn how to add variables to NCVARs, click here.
Add the variable exactly as shown (the BOLD lettering is just for clarification. Variable will not be bold when entered):
*PlotDirection*
If you set the variable to "L" or "l" you will force the plot to Landscape
If you set the variable to "P" or "p" you will force the plot to Portrait
If the variable does not exist, then if X is greater than Y, you will get landscape. If Y is greater than X, you will get Portrait.
*pdfplot*
By default the value of this variable is set to NIL
Variable should be set to: T in order to have a PDF file made of the nested drawing.
Print Non-Nested Parts
If checked and you have parts that are set to Code as Single Part, they will be printed during the job run. One print for each part.
Reset Sheet Counter for each material
If checked, the counter for the NC code file will have its numbers reset each time it encounters a new material. So if you had two nests, one on MDF75_ and one on BIR500_, you would get files named MDF75_1 and BIR500_1. If the box was unchecked, you would get MDF75_1 and BIR500_2. The last digit is the sheet count.
Print Material Usage Report
Turned on, a material report will automatically be printed at the end of the job.
Print Sheet Quantity on Label
Turned on, you will have the number of the sheet listed for each NC code file on the label.
Print One Barcode Label per Sheet
If checked, there will be a barcode label printed in the label file for each sheet nested in the job.
Create Summary Report
If checked, there will be a summary report created at the end of each job run. This will be an Excel spreadsheet and contain material and tooling data for the job.
NOTE: Security settings in Excel may need to be adjusted in order to view the Summary Report correctly.
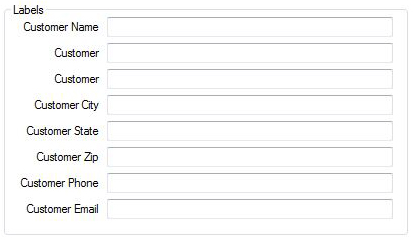
Labels
This section is where you can place any custom data you wish to appear on your labels for each part if you are using 'Inherit Label Data from Job' under Part Properties.