|
|

|

|
|||
|
|
|
|
In order to show Permanent Editing, we will create a new tool in the tool list, then file the list and open a new Router-CIM session to show the tool available. You should read through all the steps involved before trying this and then come back and step through them one at a time until your results are the same.
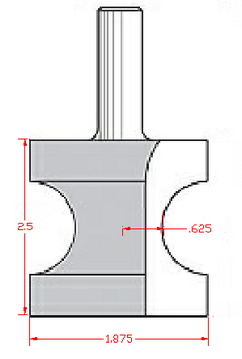
The new tool created in this example is going to be a 1.875" Diameter shaper type tool that looks like the following illustration.
In order to make this tool, a new, blank, drawing is opened up and Router-CIM is loaded.
Then we start with the Control Panel and pick a tool from the tool list that is somewhat close to what we want.
Select the TOOLS button and in this case the RBIT_GENERIC_SHAPER is selected.

Select a Generic Shaper tool.
Once that tool is selected, click on OK to move back to the Control Panel with that tool as the current tool.

The Generic Shaper is now the current tool
Next we will modify the tool parameters to create the new tool for the list.
Select Mod Tool. ![]()
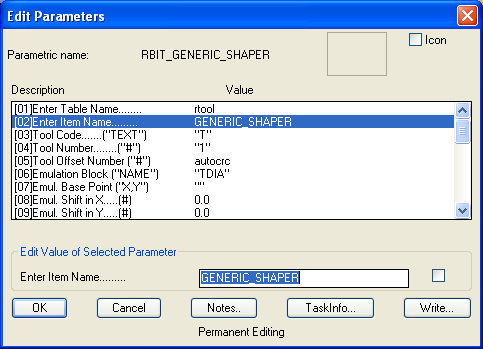
Mod Tool displays all the tool parameters, some of which will be changed to create the new tool.

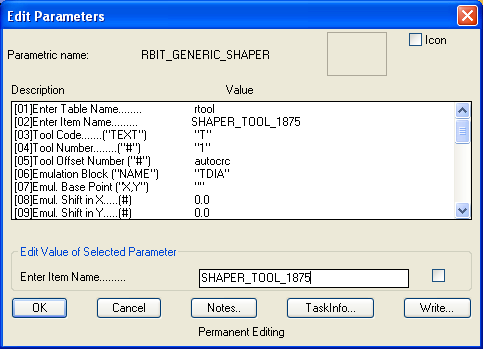
The first item to change is the Item Name (#2 in the list). Select this item with your mouse and then at the bottom of the window you will see the value to be changed.
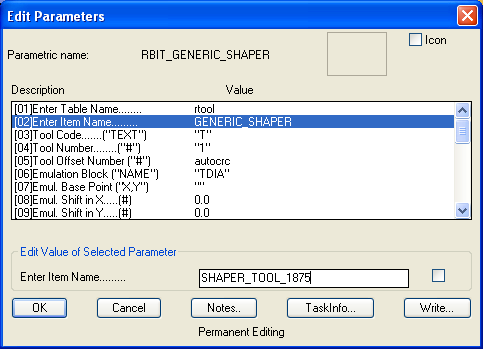
Turn on the Caps Lock and type in SHAPER_TOOL_1875 and then Press ENTER on the keyboard.
If you do not press ENTER, you will see the following notice:
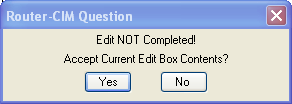
Select YES if you see this notice.
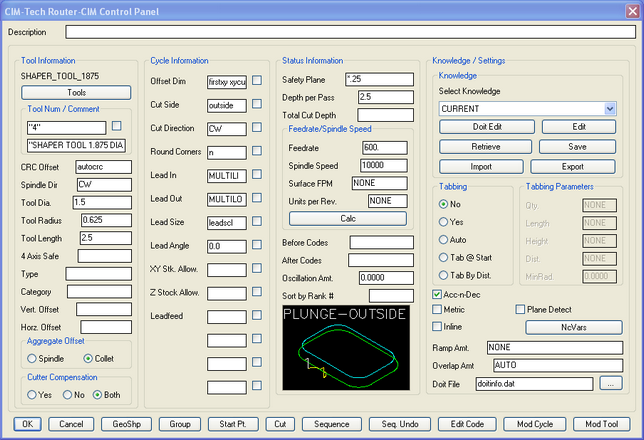
The parameter window should then show the changed value.
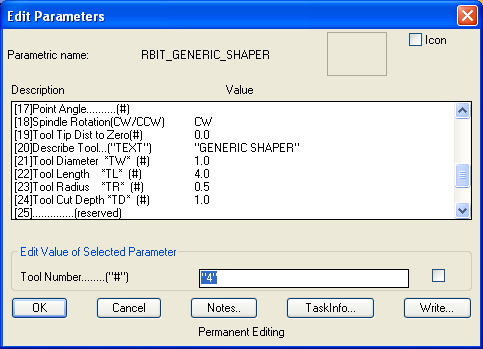
Next we will select the Tool Number (#4 in the list) and change the number in quotes from "1" to "4". Again, select the item with your mouse and it will be available below to edit.

Change the number inside the quotes from "1" to "4" and then press ENTER and you will see the change in the list.

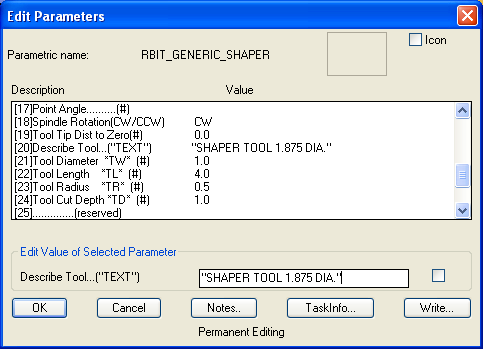
The next item we need to change in this case is the Tool Description (#20 in the list).
Select that and change it from "GENERIC SHAPER" to "SHAPER TOOL 1.875 DIA.", then press ENTER to see the change in the list.
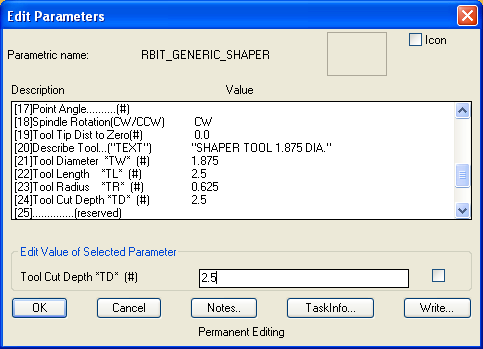
We will then change:
| • | Tool Diameter to 1.875. |
| • | Tool Length to 2.5 |
| • | Tool Radius to .625 |
| • | Tool Cut Depth to 2.5 |
The list should then look like this:
Once the changes in this editor are made, select OK to add a new tool to the list. The following window appears.
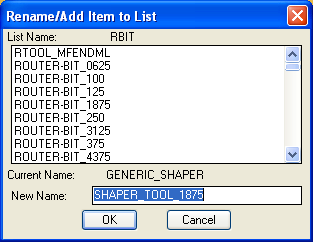
This shows you that you are going to either Rename or Add a new item to the list. In this case it will be a new item.
Select OK.
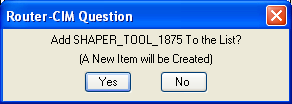
You get a final window asking if you want to add a new item to the list. Select YES.
Then you will see the Control Panel with the new tool displayed.
At this point the tool is added to the list, and the list is filed to the hard drive. If you select the tool list now, you can see the new tool at the very bottom of the list.
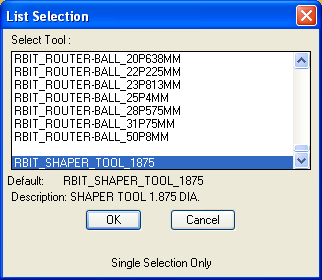
In the next section we will move that tool up in the list so that it is easier to find.