|
|

|

|
|||
|
|
|
|
The justify command will allow you to force the text to be aligned in a specific way on your shapes as it is being entered.
You can have text Right Justified, Left Justified, Middle Justifed, or spaced to fit in a specific area.
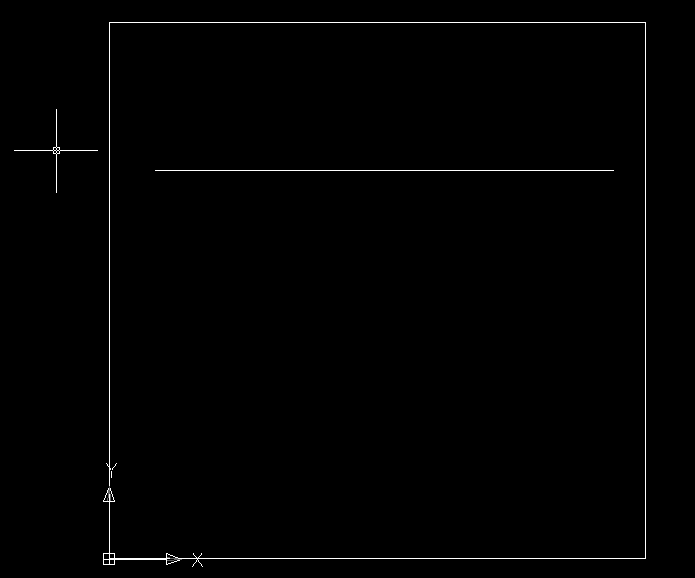
For example, to have text Left Justified to a polyline on the screen, you can enter text in this method.
Select the LE Button and at the prompt, select 'J' for Justify. You will see the following prompt at the command line.

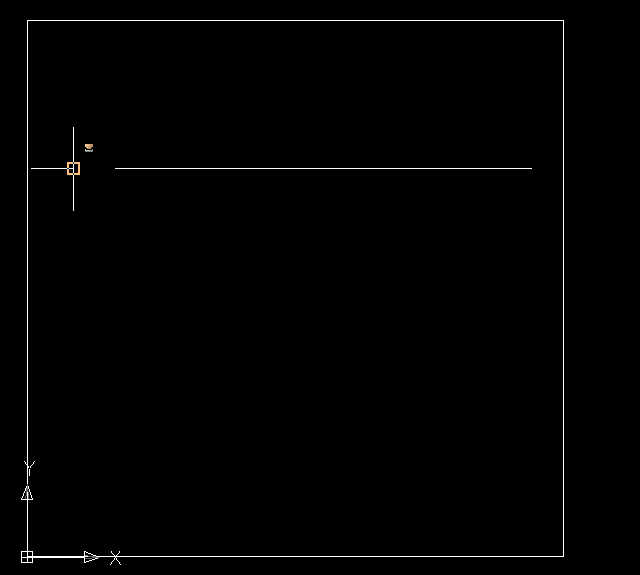
Type 'L' for Left (or just press Enter) and you will be prompted for the Start Point.

Using your OSNAPS in AutoCAD, select the Left Endpoint of the line.
You will then be prompted for the Text Height.

And the Rotation Angle.

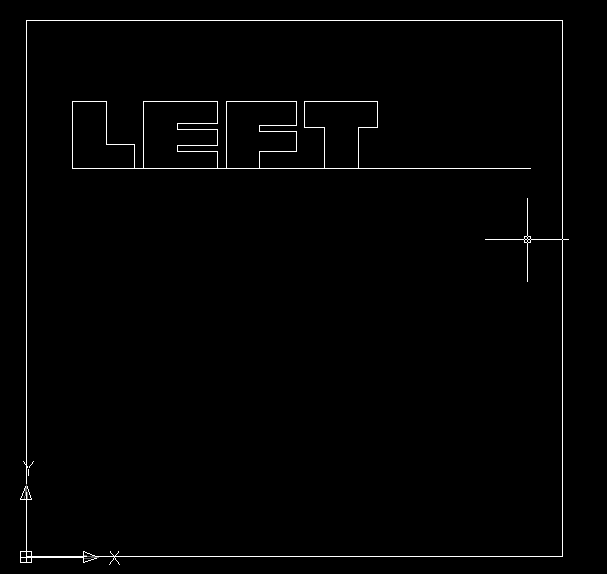
And then you can enter your text.

It should then appear to start from exactly the left end of the line where you picked the start point.
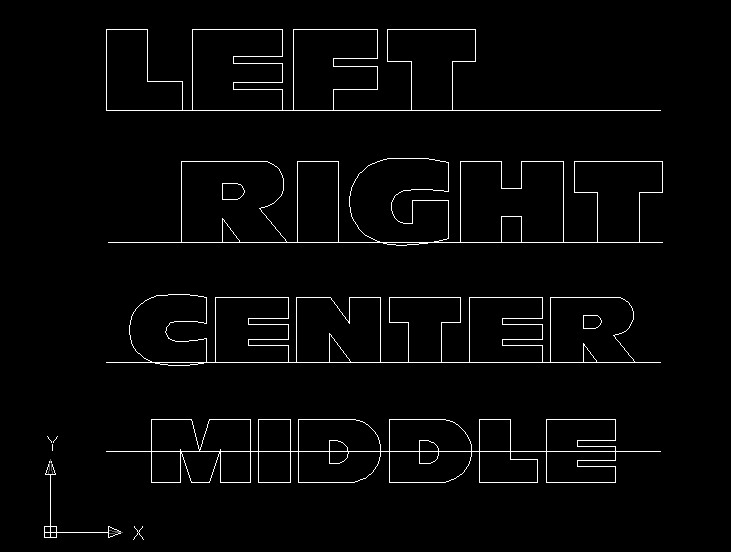
There are other prompts for Justify as well.
They are for Right, Center, Middle...
As well as Top Left, Top Center, and Top Right...

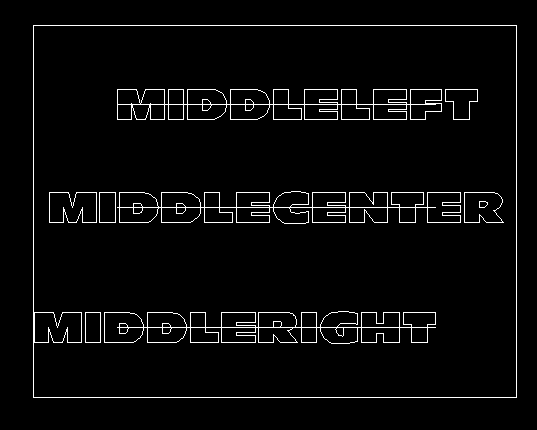
And, Middle Left, Middle Right, Middle Center...
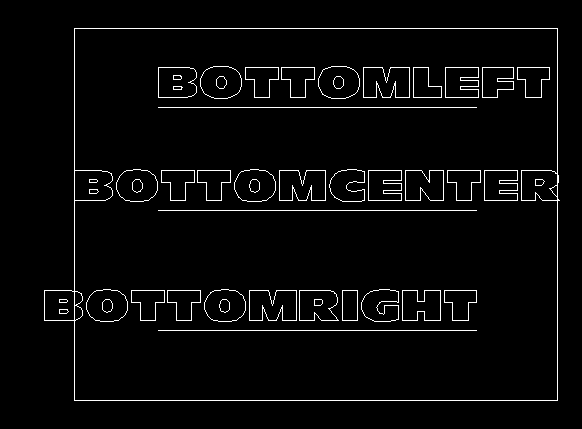
And finally, Bottom Left, Bottom Center, and Bottom Right.
There is one final method. That is 2P, or Two Points.
Using this method you would pick two points and the text would be fit between those two points (if possible).