|
|

|

|
|||
|
|
|
|
Notes: 1) Local users will need Administrator privileges to install the software.
2) You should remove any hardware locks that have been plugged into the computer.
3) Any Anti-Virus or Malware Software should be disabled temporarily prior to starting the installation. Make sure to enable these when the installation has been completed.
4) These installation notes assume that AutoCAD 2014, 2015 or 2016 is installed and functioning properly.
Failure to do these things may result in an incomplete installation causing the program to not function properly.
Note: If you need to install Router-CIM on a different computer and want to transfer your information, please click here.
The Router-CIM program is installed in the following manner:
Insert the Router-CIM Installation DVD and it will start automatically. If it does not start automatically, pick Start > Run then pick or type D:\setup.exe (where D: is the DVD ROM drive letter). In Windows 8, right click on your DVD ROM drive and select 'Open'. Once Windows explorer has opened your DVD ROM drive, double-click the 'setup.exe' file.
The Router-CIM serial number will determine the installation options. The serial number is located on the Router-CIM DVD ROM case. If Basic Nesting was purchased, it will be installed automatically.
The install will search for Router-CIM files in the default location. If your version of Router-CIM was installed to a drive other than C, you can re-direct the setup process to locate the folder in the proper drive by clicking on Browse and then selecting the correct drive location.
The install procedure searches for AutoCAD on your hard drive, and uses this location to build icons to run the Router-CIM program.
When the installation program starts, the following screen will appear:
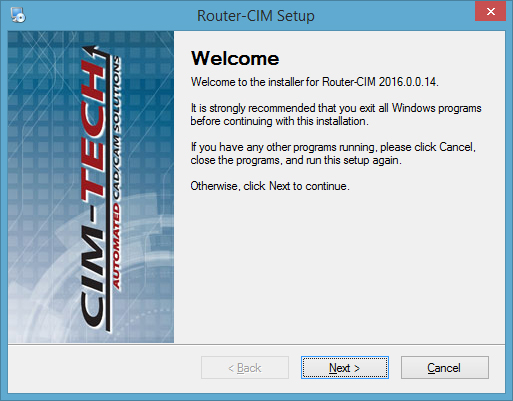
From here, all of the default selections have been made for you. We recommend that you leave the defaults, as it will be simpler for you later if technical support is needed and you need to know the locations of the Router-CIM files.
Select 'Next' to continue.
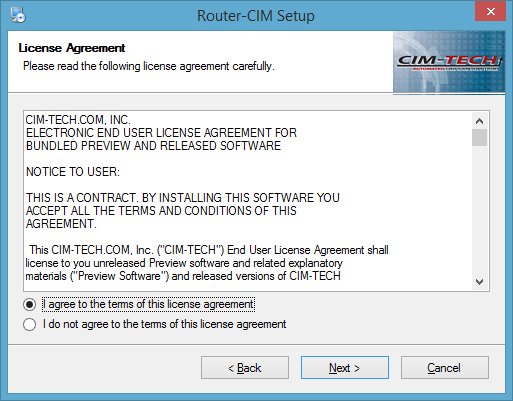
This is the license agreement for Router-CIM. Be sure you read the agreement. Selecting ‘I do not agree to the terms of this license agreement’ will allow you to exit the program without installing it to your computer. Selecting Back will return you to the previous window. Select ‘I agree to the terms of this license agreement’ and 'Next' to continue.
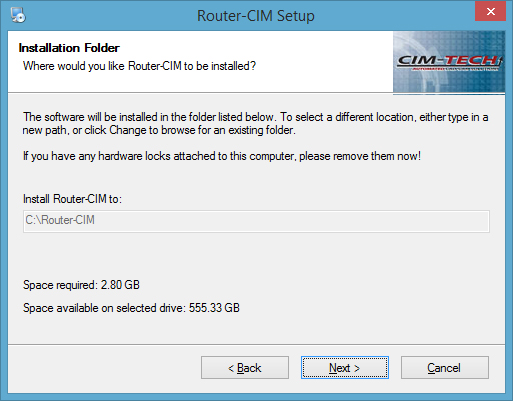
Router-CIM will specify the location for installation. You may select 'Next' to continue, or either 'Back' to go to the previous window or 'Cancel' to exit from the installation.
You should remove any hardware locks that have been plugged into the computer.
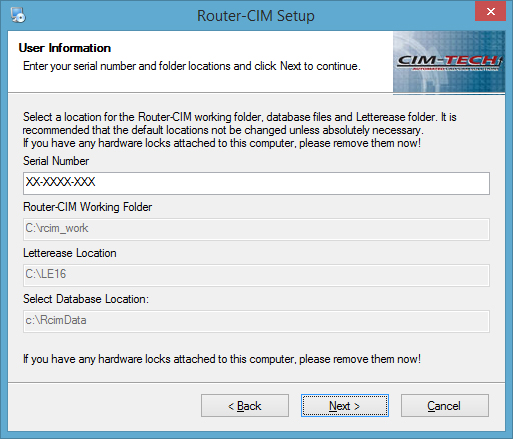
Enter your serial number that is supplied to you with the software. The default database location is on your C: drive in the RcimData folder.
Select 'Next' to continue.
Note: If an existing copy of Router-CIM is found on the computer in which you are installing, you will see this screen:
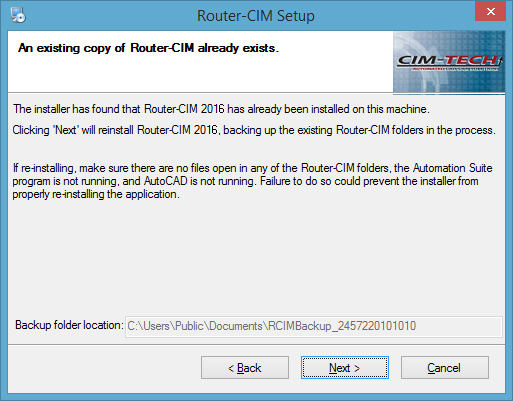
You may select 'Next' to continue, or either 'Back' to go to the previous window or 'Cancel' to exit from the installation.
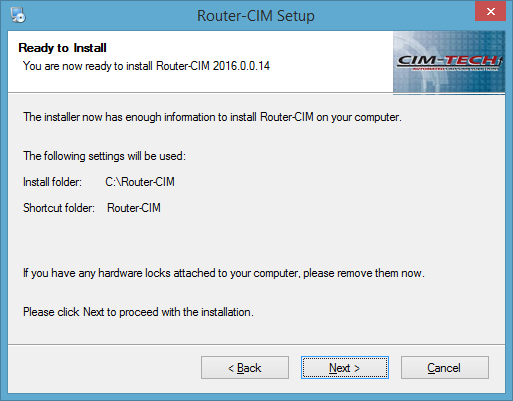
This screen will recap where Router-CIM is going to be installed to.
You may select 'Next' to continue, or either 'Back' to go to the previous window or 'Cancel' to exit from the installation.
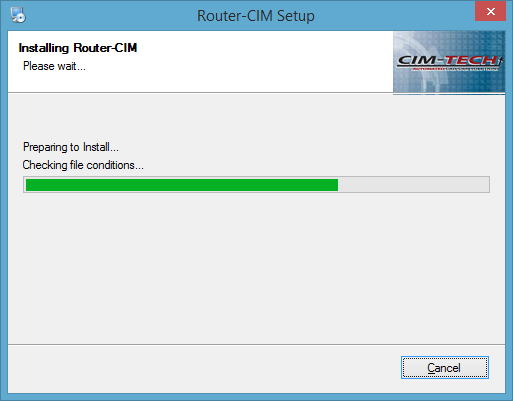
The installer will start copying files to the necessary locations in this section of the install.
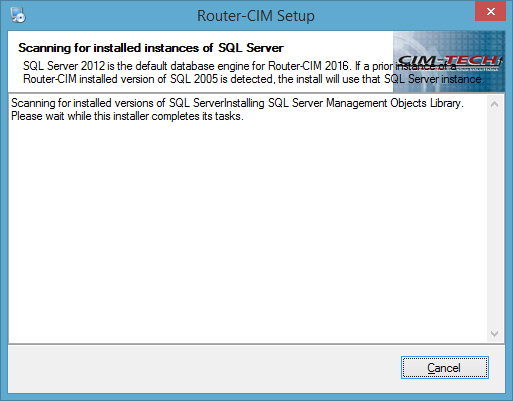
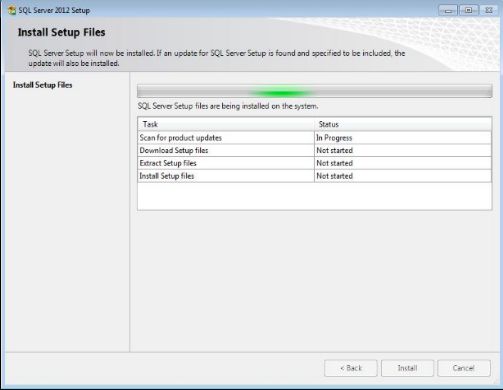
The SQL Server is the second section of the installation. The install will extract some more files and then check your computer for versions of AutoCAD, SQL Server and Microsoft .NET Framework versions.
This section may take a while, please be patient and allow the installer to finish.
Once this is finished, the SQL Server install will take place. The Router-CIM progress screen will look like this:
And then the SQL Server install will start if no instance of SQL Server was detected.
During this process, if you are connected to the Internet, SQL Server will download and install updates if they are found. If your system installs an update, you will see a screen like this:
And then the SQL Service Pack will install. During the install you will see the following screen:
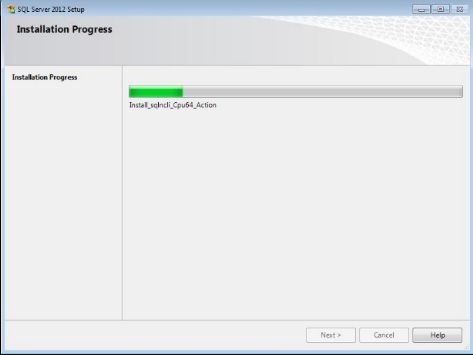
After SQL installs the service pack, the Management Studio will install. THIS PROCESS CAN TAKE A VERY LONG TIME, Please wait until it is finished and do not cancel the install.
It is not uncommon for the status screen to be active for 20-30 minutes while SQL is configured.
During this step, the Crystal Reports installer will run. You will see a screen like the following:
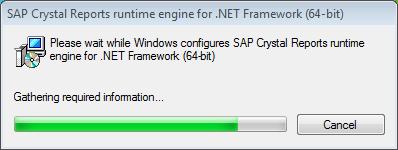
The next step will appear when this is finished.

The Sentinel Protection Installer will run next to install the hardware lock drivers. This is usually pretty quick and you may see some windows open with a black background while this is installing.
Once that is finished, the install of Router-CIM is completed and the following screen will appear:
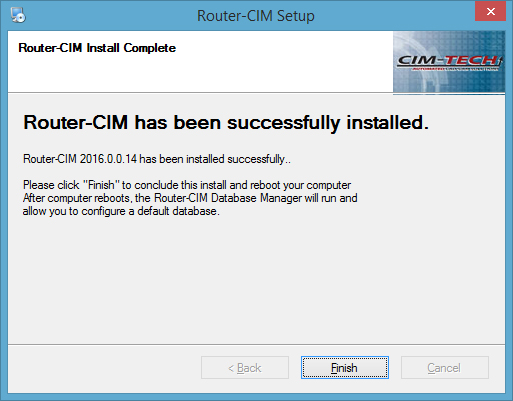
Select 'Finish'.
You will see a message requesting you to reboot your computer. The installation is not finished until you reboot your computer.
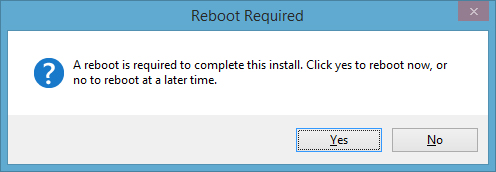
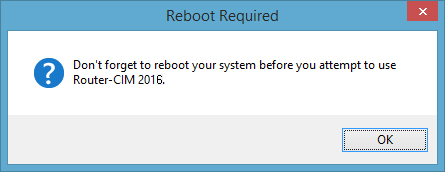
If you select 'No' at this time, a reminder screen will appear.
Once you reboot your system, prior to the full reboot being completed, Router-CIM will next select a default database, and you will be prompted with the following window:
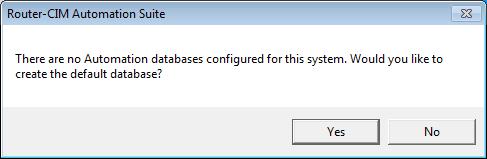
Select 'Yes' and a default database will be created. You may be prompted to select the current database to be active for Router-CIM. If so the following screen will be shown:
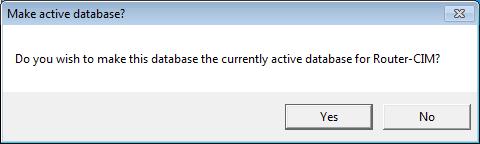
Select 'Yes' and the default database will be set active.
Note: You may be prompted to select the current database to be active for Router-CIM if the computer has already had Router-CIM loaded. If this occurs, you will see the following screen.
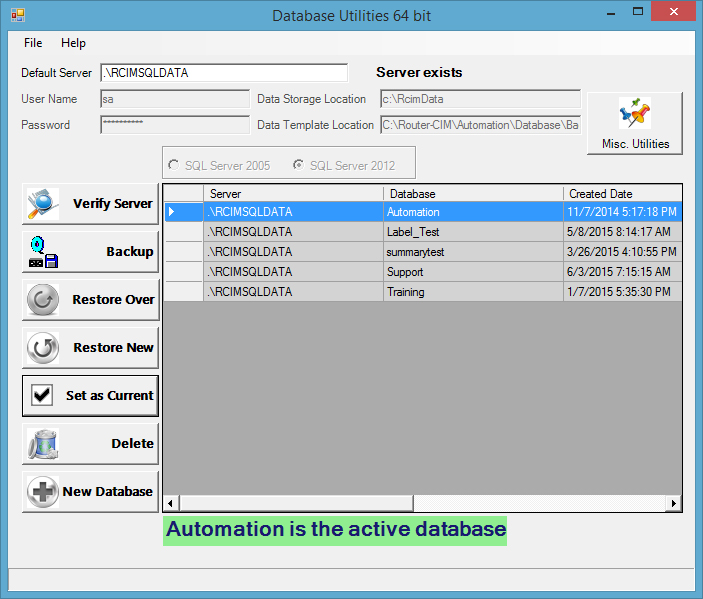
Select the database that you want Router-CIM Automation to use and once you have it selected, select the button 'Set As Current'.
Once a database is set as active, you will be prompted with the following message:
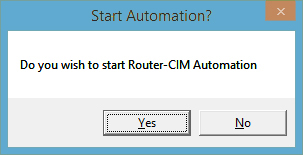
You should select 'No' and your computer will finish rebooting.
Once that is finished, the install of Router-CIM is completed. There is either a parallel port lock (25 pin device) or a USB lock for a USB port that will need to be plugged in at this time.